Monday, October 14, 2013

Preschool Spider Ideas

ALL ABOUT SPIDERS
 
 
Art
spider handprints
Spider hand prints:
The used a Q-tip to make the eyes. I let them choose 6 or 8.
 
 
I had them make a web with yarn and glue. Great for fine-motor Skills!  
 
Marble painting
Make a web and have a discussion about webs.
Here are some questions I ask my kids while they are marble painting:
1. What are webs made out of?
2. Why do spiders need webs?
3. Why don't spiders stick to their own webs?
 

Great for a center:
Fine motor skills: peeling and sticking
 
 Science
Playdough center:
Make a spider and review parts of a spider and other facts.
 
Literacy
Smack that spider! Oh how they love this literacy game.
You can download it for FREE on 2teaching mommies. Here is their link:


Found this awesome FREE spider fact book emergent reader on Making Learning Fun.
here is the link if you want to make a little spider booklet.
 
 
 Math
Spider Math: Adding spiders I found this FREE worksheet on:


Friday, October 11, 2013

Why don't spiders stick to their own webs

 Science
Why don't spiders stick to their own webs?
Why spider dont stick to their web
I took paper plates, made a web with a marker and then added tape all over it.
The kids touched how sticky the web was. Afterwards we discussed why spider don't stick to their own webs.

Why dont spiders stick to their own webs
The kids took turn walking their spider fingers cautiously around the web so they didn't get stuck to their own trap.
 
Answer to why spiders:
I Googled it and I found that spiders make a web and leave a trail of sticky glue droplets. They are then able to navigate cautiously around their web. At times spiders may encounter a sticky droplet, but are able to quickly lick it right off. Insects on the other hand don't have this privilege. Most insects fly, or hop right into tons of glue droplets making it impossible for them to escape. Resulting to them getting stuck in a sticky situation.
 
The magic School Bus has an awesome 20min video clip called The Magic School Bus Spins a web. It shows the spider make a web and then leave sticky glue droplets as the spider get ready to catch its lunch. I will post the clip for easy access.


Five Senses: Touch

Exploring TOUCH:
 
                                               Sand paper                                 Velvet


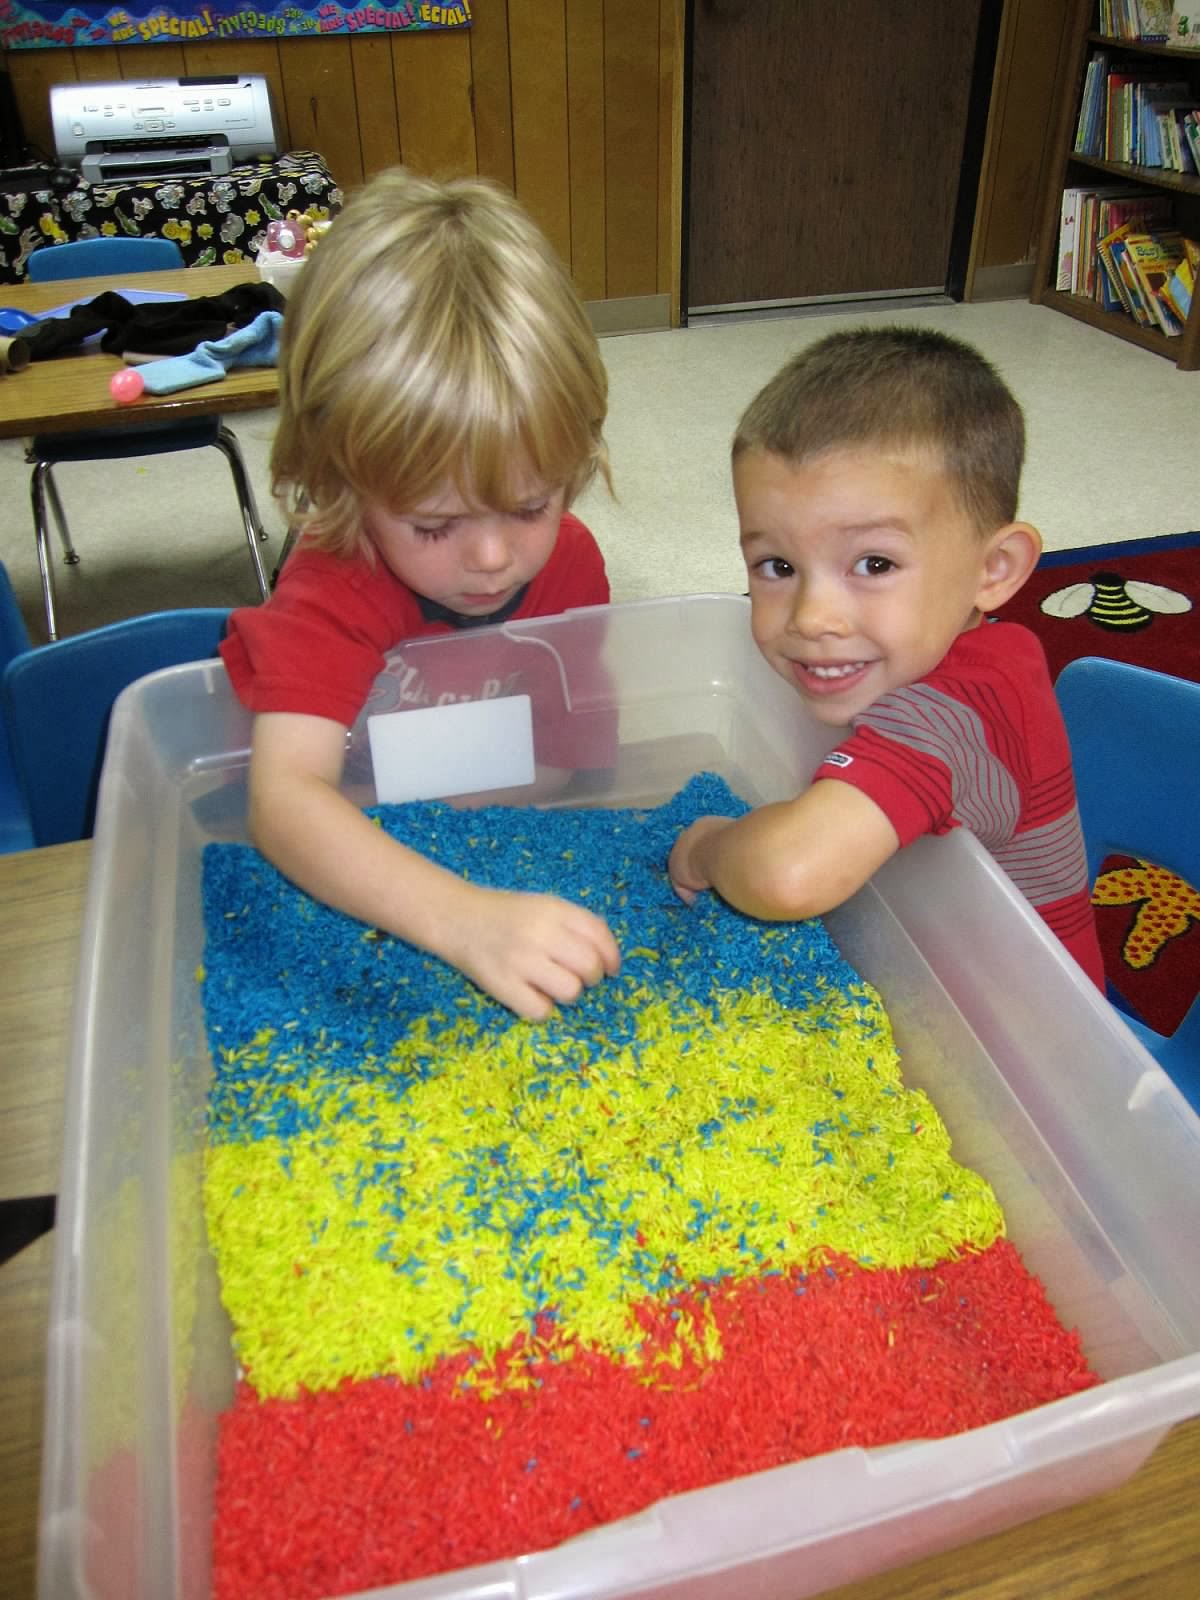
Colorful rice

"FURRY"

"Fuzzy"

Floral water beads were their favorite.

I hid shapes and different objects inside CLEAN socks and had the children use their senses to guess what was inside.

Wednesday, October 9, 2013

ART: Shaving Cream Fire


Shaving cream fire


This art activity creates a realistic fire texture. It's fun to create and beautiful to look at... The only concern about this project is that the food coloring will stain, so I suggest wearing gloves.


Here is the effect, each one is so different, but beautiful.

I have done this art project different every year. I have place a fire truck in front as well as have the children stamp our FIRE somewhere on their fire flames.
 

I love preschool, anything can be turned into a learning experience

Follow me to be notified on my post :)

Fire Safety

What a fun theme for preschoolers...ya know, having the opportunity to practice calling 9-1-1, putting out fires, paying fire fighters, the whole shabang. 


Fire Safety Craft


This week the children will mostly be learning through role play. I love to teach this theme! The importance of being familiar with what to do in case of an emergency is an imperative subject to learn at a very young age


Song
We chant a song each day, it's one I made up a few years ago. It goes a little something like this:

Place a flame with tape on a child's back and begin by singing:

F-I-R-E fire, fire 
F-I-R-E _________ is on fire

Teacher: Oh no, _____ is on fire.  what do you do?

STOP
Fire Safety


DROP

Stop drop and roll game

& ROLL

Stop drop and roll preschool

They roll while covering their face until the "flame is off"


Then I have them crawl under the "smoke", so they don't choke
Fire safety crawling
 
 
We then looked for a way to escape. The door is their favorite choice.
 
Preschool Fire safety
He thought it was funny that I kept saying Ouch, the door's hot lol
 
 Teacher: Touch the door. Is it hot? Depending on their answer I would reply

Option 1:
Kid: Yes!
 
Teacher: Ouch, okay don't open the door, that means that there are flames on the other side. If we open the door the flames will burst in. Okay lets find a phone so we can call for help.
 
Kid: Found it.
Teacher: Okay who should we call for help?
 
Kid: 9-1-1... * ring, ring, ring
Fire safety Dial 911
Then I pretend to be the operator
 
Operator: 9-1-1, what's your emergency?

Kid: there's a fire in my house

Operator, Are you hurt?

Kid: no

Operator: Can you get out of the house safely?

Kid: yes

Operator: Okay I need you to get out and stay out, and don't go back in. We will be right there.


**Each child response differently, but this is just a sample. Have fun and later they will be playing this outside and reenacting the scenario. It's quit fascinating to watch them learn through play :)


I add a little more to our skit.
 
The following day we talk about what we would do if there was a fire in a house.  I take this time to discuss what an escape route is and what they would do if their was a fire in their house. We also discuss escape plans (door and window) and introduce how to tell if a door is safe to open. Here is a short clip of a video I took during role play.


COMING SOON!


Other than dialing on a paper phone and a plastic phone we practiced on a cell phone. These days most people have smart phones and  although most children already know how to operate a cell phone after reading this post on www.littlebitfunky.com. I thought I would implement it in my class this year.

ART

fire flame with a fork art

Fire Flames with a Fork

Fire engine

We also made a fire engine and reviewed our shapes, as well as our colors in Spanish! This activity was much more than making a fire engine. It was about practicing and understanding positional phrases and following directions in a small group. 


fire safety preschool activity


These came out SO precious. My parents were happy with this craft and many STILL have it :) I found this template on Makinglearningfun.com. If you click on the link it will take you directly to the FREE download.

Heads up, this requires a lot of coloring and cutting. Over the years I have realized that this activity takes a few days, also I have outlined and lightly colored my master, so when I make copies they don't feel overwhelmed by how much they need to color. Unfortunately my kids are still too young this early in the year to cut around detailed lines like these.

Science
 
I wish I were able to do a science experiment that I saw on pinterest, but my school has there are rules, and regulations :( Here it is for those of you who would love to teach and show your little ones that a fire needs fuel. air, and heat in order to ignite and how when we take away any of those, it will diminish
 Fire-Safety-Experiment

Since my kids aren't able to do this experiment in class, I had them watch this video which  goes over everything, in a fun way. Depending on their age, you may want to be selective on the scenes, it can feel a bit lengthy


Math
 I found a really cute FREE fire fighter lap folder for preschoolers on Home School Creations

I personally don't always set mine up like lap folders, I  try to separate the activities into centers, that way they can revisit, or do them independently.


Find the objects corresponding shadow


Finish the pattern


Their favorite  activity from the lap folder was counting the Dalmatian spots. They counted and found the correlating number to match the spots. 

Plain ole' fun


preschool fun

Playing "fire fighters" and practicing calling 9-1-1


Fine motor skills: help the fire fighter put out the fire and  practice their pencil grip.


I set up a table with 5-6 books about fire fighter and fire safety for the kids to "read". It's quit interesting if you get to hear some of their read out loud stores.


Field Trip

Our preschool does not permit outings, so visiting a fire station and seeing a fire engine is out of the question, but we were very fortunate to have a firefighter come visit our classroom and review some fire safety tips.    


Fire Safety Youtube Books and Songs


This is a fun fire truck song/book that the children will enjoy.

Tuesday, October 8, 2013

Learn to SPELL FIRE

I have always done my chant and well this year I decided that I wanted to put it to a recognizable tune and I DID! I am so excited and I hope you like it too.

If you use it please let me know :)

SONG
Sung to the tune of "Row your boat"

F-I-R-E, fire, fire, fire
F-i-r-e-  students name is on fire.

What do you do if you're on fire, fire, fire, fire
You stop, drop and you roll, if you catch on fire.

What do you do if you see lots and lots of smoke?
You get low and you crawl so you don't choke.


TO BE CONTINUED...

That's all I made up this morning :)


YOU LIKE IT?

Saturday, October 5, 2013

DIY: Step by step Little Mermaid Skirt tutorial

Ariel The Little Mermaid How to Tutorial 
Ste-by-step tutorial sew mermaid fin skirt

Materials:

  1. Thread
  2. Green Stretchy sequence fabric
  3. Any color stretchy lining, I got one that was on sale  (OPTIONAL)
  4. Tulle of your choosing preferable a lighter or brighter green that matches your fabric

Depending on your size you will need less or more fabric. Here is what I bought, also remember that I had plenty of left over, I was able to make 2 skirts:

How much I bought ( My size: I typically wear a size 3, height 5'0", weight 117lbs)
  • 1 yard of stretchy green sequences 
  • 1 yard of stretchy fabric for lining ( the lining is optional, I bought it for 2 reasons, 1st the sequence fabric was too see-through and 2nd the fabric I bought was not a bit itchy. 
  • 4-5 yards of tulle, depends how full you want the skirt
Cost breakdown:
Sequenced fabric- ONE SALE
Lining- ON SALE
Thread-
Tulle- ON SALE 75 cents a yard


I am a beginner and I am certain that there are other, better ways, so feel free to skip some steps or just look at the pictures for a guideline. This is just how I did it, I made the tutorial for beginners like me. Hope it helps :)


I started with the lining since no one sees this I figured I could alter it and do a little trial and error to make a template for the outer skirt.
If you are not making a lining do the same steps with your nice fabric. 

Step 1: Take your measurements or simple wrap the fabric around your waist and pin it. I took my hip measurements as well as the length I wanted. I started at my hip and measured to my knee. Afterwards I folded the fabric in half (hamburger style, its the preschool teacher in me :) and then mark your measurements. 

**make sure that it is folded right side to right side, which means the nice sides touching

The folded line will be your front, and where you cut will be the back of your skirt. I cut 17 inches starting at the crease (left to right, this is your waist line) and then cut the length that I wanted.

After you cut, hopefully it looks like a rectangle. Hand sew or use your sewing machine and sew right down the back.

**make sure not to sew with the pretty sides showing. The nice sides should be facing each other.

This is just to make a simple pencil skirt, later you will be pinning it to make it more fitted. 

Step 2: Now that you've sewing down the back and made it into a pencil skirt, put the skirt on and place 2 dots. 
Make 1 dot with a fabric marker or whatever else you have on your hip or the highest point you want and a dot on the lowest point you want it to go in the front, this once cut will make a V shape around your waist.

Now Fold the skirt in half with the seam line in the back. Take a ruler and draw a line about 1/2 inch above your dot and cut. 


Step 3: Try the skirt on and pin it from the back so that it is the shape you like, or you can free hand draw it to the shape a little at a time until it's perfect.

**make sure to use a stretch stitch, this is what it looks on the sewing machine I used

This step can be tricky without a 2nd person. As you can see in my picture there is my 1st straight stitch down the back, then I measured right below my knee to see if it fit well and it was still looser than I'd like, but my tooshy fit fine, so I just hand drew a nice curve and lucky me it fit just right. 


Once the lining is perfect, use it as your template and do it all over again with your sequenced fabric. Then place the lining inside the outer skirt (right side to right side)

DO NOT sew the waist just yet. IF you would like the hip fins like I have in my picture. If you would rather have sew them on once you skirt is completed. then go for it and sew it. Another option is to add some elastic in the back if you'd like. 


Option 1: Place the gathered tulle in between the 

 Option 2: Sew the waist and then do tulle after the skirt is completed 


Then measure your tulle, use a stitch that is far apart. make sure to do 2 rows leaving extra thread thread in the beginning and the end. 

IN PROGRESS...

to be continued...

Thursday, October 3, 2013

Homemade Clay Leaves

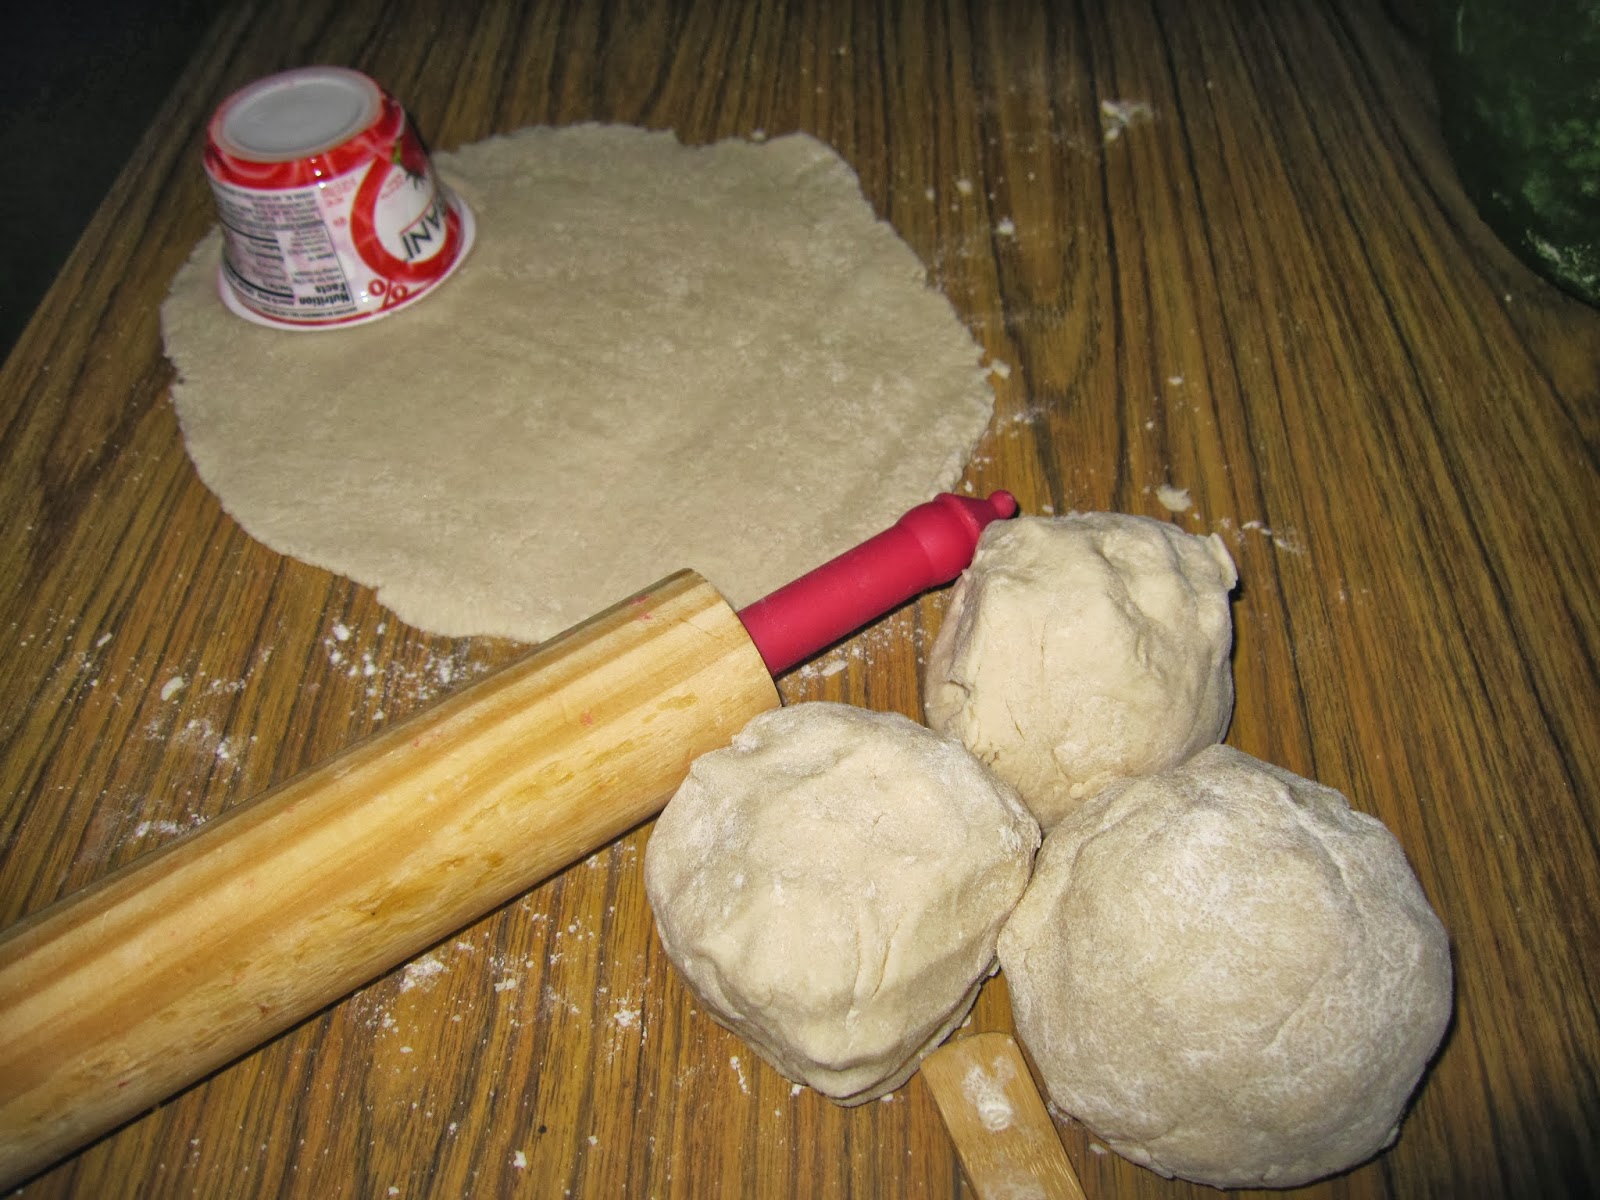
I found this recipe on pinterest and decided to make it in class. Honestly, you could use less than 4 cups of flour. I have 12 kids in my class and we had tons of left over flour. 

All you need: Flour, Salt, and water


Mix it and make into balls. I had the kids help me make the balls and roll them flat. 
 
 
I did not buy silk leaves like the directions stated, and I was a little sorry I didn't. The veins were not showing, so I ended up using a toothpick to make the imprint a little more noticeable.
 
Also make sure the knead it very well or it will have a crackle look.


Here is the finish look. I ended up flipping the leaves over because the bottom was still doughy, and unfortunately it caused some of them to bubble up :(


I let the kids play with the extra dough. They made leaf print and we talked about the vines, stem and blade. 


Over all, it turned out to be a great activity!